Home
Products-
• Pedestal banks
• Oval Banks
• Elipse banks
• MD Banks
• Corian Banks
• Tombstone banks
• Round coopered banks
• Corian Slots
• Extras
Contact us
|
Preparing a rough board
Thought I'd show you some of what goes into making my banks-
I like to use old lumber whenever possible, and the one you're about to see really fits the bill! I got this one
at an auction a couple of years ago- a cabinet shop about sixty miles from where I live. At the time, I drove past the building
often in the course of my work, but with no signage on it, I had no idea that it was old cabinet shop. "Old" was right, too-
the place obviously hadn't been open for twenty years or more! There was nothing there that is currently used in the
cabinet making trade, and many of the power tools were literally museum pieces. A large number of the tools in this place
had been built to run on a line shaft, back in the days of steam power!
I came home from that one with a trailer full of wood and a few other odds and ends, and here's the preparation of a walnut
board from that trip.
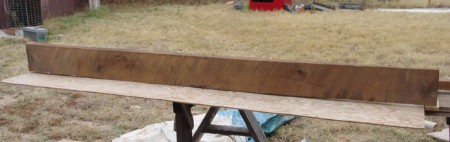 It's little over eight feet long, and about eight inches wide, and close to two inches thick.
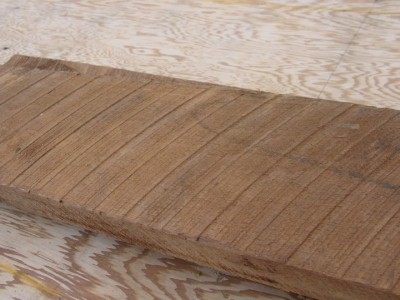 Here we can clearly see that this board was cut on a circular mill, quite possibly a small family-run affair. I suspect it
was air dried, as well- it certainly wasn't dried by one of the big commercial operations, as it was not steamed to even out
the color (this will be obvious once it's cleaned up).
Here we can clearly see that this board was cut on a circular mill, quite possibly a small family-run affair. I suspect it
was air dried, as well- it certainly wasn't dried by one of the big commercial operations, as it was not steamed to even out
the color (this will be obvious once it's cleaned up).
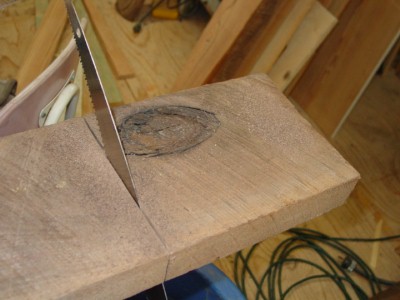 Here I'm cutting out a huge knot that runs
all the way through the board- I can probably salvage half of this part later just using hand tools. Here I'm cutting out a huge knot that runs
all the way through the board- I can probably salvage half of this part later just using hand tools.
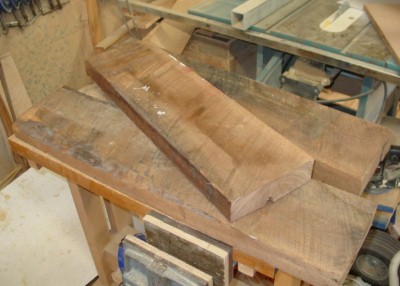 Here I've cut the board into three sections, and they
are ready for planing. Here I've cut the board into three sections, and they
are ready for planing.
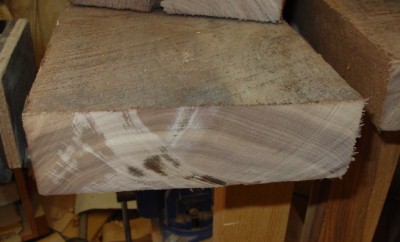 This shot of the end grain shows that I'm not wasting my
efforts here- the board is in good shape, and will clean up nice. This shot of the end grain shows that I'm not wasting my
efforts here- the board is in good shape, and will clean up nice.
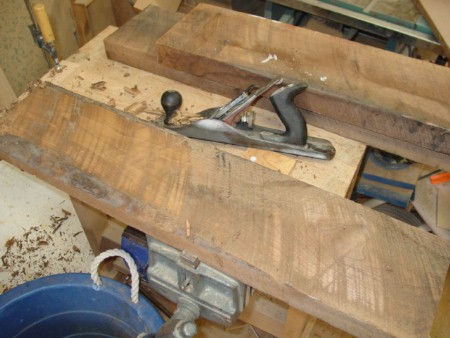 Here I've got one of the sections anchored to my small bench,
and I've commenced planing one side with an old jack plane (made about 1946- a nice garage sale aquisition). The idea here isn't to
make a perfect side, but to get it flat and regular enough that I can put it through my electric planer. Here I've got one of the sections anchored to my small bench,
and I've commenced planing one side with an old jack plane (made about 1946- a nice garage sale aquisition). The idea here isn't to
make a perfect side, but to get it flat and regular enough that I can put it through my electric planer.
The lighter colored areas are the high spots that I have planed off already. This section took more work than the other two.
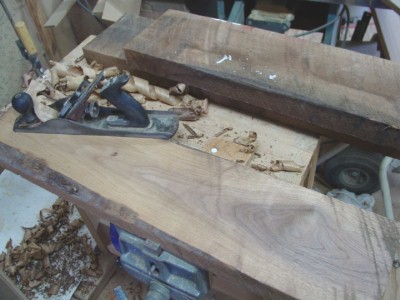 Here's the same section quite a bit further along- note
the pile of shavings on the floor, as well as the one coming out of the plane (I had it set for a pretty aggressive cut, as walnut
isn't all that hard- I still worked up quite a sweat, though). Here's the same section quite a bit further along- note
the pile of shavings on the floor, as well as the one coming out of the plane (I had it set for a pretty aggressive cut, as walnut
isn't all that hard- I still worked up quite a sweat, though).
 Here it is nicely cleaned up and ready to run though
the planer (I'll use this as the reference surface to plane the other side, then turn it over and true this one up as well). Here it is nicely cleaned up and ready to run though
the planer (I'll use this as the reference surface to plane the other side, then turn it over and true this one up as well).
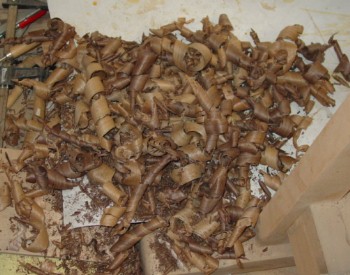 Check out all the cool walnut shavings! They smell good
(walnut has it's own scent when worked), but they can be toxic with long contact. This is why you never see walnut shavings or
sawdust used as animal bedding. Check out all the cool walnut shavings! They smell good
(walnut has it's own scent when worked), but they can be toxic with long contact. This is why you never see walnut shavings or
sawdust used as animal bedding.
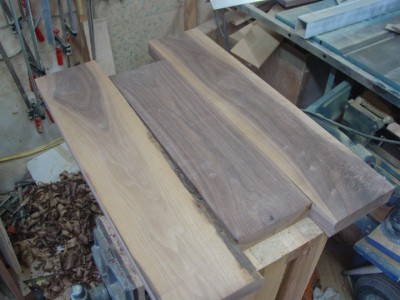
 Three boards after hand planing, and ready to be run
through the planer. Note that they aren't perfectly finished- just enough to give me a flat reference surface for the electric planer. Three boards after hand planing, and ready to be run
through the planer. Note that they aren't perfectly finished- just enough to give me a flat reference surface for the electric planer.
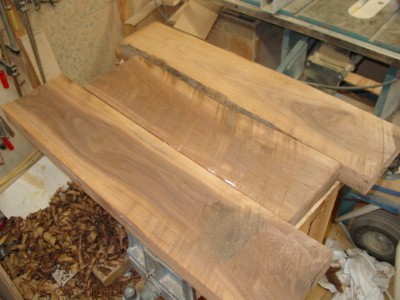
 Three boards, planed, trued, and the sides and ends
cut straight and clean on the tablesaw! Well worth the effort. Three boards, planed, trued, and the sides and ends
cut straight and clean on the tablesaw! Well worth the effort.
Note the variation in color- this is how I know that they weren't steamed (this
is another peculiarity of walnut- when it's steamed, the heartwood and sapwood colors even out).
I'm not done with them yet, though- I'll split them in half longways (known as "resawing") in order to make 3/4" thick boards,
and from there, they'll be made into banks. I can't wait to see how they turn out!
Home
|